Tuesday, 2 August 2016

Host a Lavish Dinner Party at home with Precision and Perfection - The MONICA CHANDLER style!!

Okay so you are planning a party at home. The guest list is big…Like really big. For me any guest list for more than 12 adults is a big list to be cooked at home.  Say you want to really impress them with a lavish spread of entrée, Main and Desserts, then, that needs to be executed with a clear Project Plan with clearly defined Time driven Milestones and a bunch of Helpers. Oh Yes, you need to unleash the Monica Chandler of FRIENDS fame in you! Let me tell you how.

My Menu for a dinner Party for 15 adults was like this:

Menu
4 Starters – Cajun Potatoes, Hummus and Pita Bread, Tandoori Paneer Tikka and Nachos Chips with homemade cheese dip
2 Mains – South Indian Uthappam/Sambar/Chutneys and Spinach-Corn Pulao
2 Desserts – Bread Halwa and Ice cream
The entire event needs to be done in 3 stages.

Planning:
So the first Part is about the Planning. 2 days before the day of the party, you need to finalize the menu and make a complete list of the food items that you will need. I made an excel with Columns Such as this. You know you get the idea. Take a print out of this and go stock up everything from a store that offers all this and also some Drinks a day before.

Cajun Potato
Aloo

Mayonnese
 Cheese DIP
 Nachos, Cheese
Hummus/DIP
Hummus, Pita bread
Tandoori Paneer
Paneer

Olive oil

Capsicum

Lemon

Garlic

Oil

 Skewer sticks
Uthappam
Dosa batter
Veg Pulao
Spring Onion

Pudina
Halwa
Butter, Bread

Milkmaid

Cream Cheese

Curd

The second part of the plan is then to decide the number of people you need to help. Here in Bangalore, the maids show a really long face if you will make them work for long hours. So, I decided to time shift with 2 cooks – One for the first half of the cooking AND another one for the second half. This is also a good disaster management plan in case one does not show up. In fact, you will need to book 3 cooks and give them specific time-slots to act like a relay cooking.  The third one is just for contingency. And one helper to do the tables, plates etc.

Execution
Now when it comes to execution, my usual order of preparation goes like this – Desserts, Main, then starters.
If your party starts at 7, and if guests are punctual, then you need to start cooking from 3 p.m.  The first item that I cooked was the bread halwa, at which I am a pro and got it ready the first thing. Then comes the main – Since I am a south Indian, I play to my strengths – As a tambram [Tamil Brahmin], I don’t experiment so much with North Indian Punjabi OR Shahi Paneer style stuff. I stick to my zone.
So the next set started with making sambar, two chutneys and the Green pulao. This took about 1.5 hours of time for my cook who is an expert at this.
By now the time was 5:30. Time to look at the starters.
Now most starters have to be served hot and others started just about when the guests are ready to eat. Hence I divided my starters into two types. Ready to serve & Cook & Serve. The ready to serve were good to go to table as soon as the guests came. This for me were Hummus and Nachos. The long action ones were the paneer tikka and Cajun Potatoes. So I had to get the basic elements ready. By now my first cook was out of the house. Enter the second cook.
 Boil and fry the potatoes and get the Cajun mix done. Marinate paneer and keep them ready in fridge.
By now, the house needs to be clean and the tables/Plates/Napkins, Spoons and fork had to be set. The helper is needed now.

Dinner Time
As soon as considerable number of guests arrive, you need to get the food going. Especially long parties that roll up well into the night require a lot of food, drinks and games. Hence we started with making the cheese dip for the Nachos which is a 5-minute affair. Once this was done, Hummus and Nachos were out.  Then we started with the Paneer Tikka and Dressing up the Cajun mix. This sucked up enough time with guests around. And once all starters were out to the table, my cook made an exit too.
Once you make a great impression with starters, you need to keep the tempo up with your mains. People like Sambar to be hot so it had to be re-heated and served. Finally, when dessert was served, I had to congratulate myself on a project well executed.

But no it does not end here. The worst part of the party is the cleaning up to do post this. 

Now how to clean your house like a Martha Stewart is for my next blog! 

Saturday, 30 July 2016

2 minute cheese dip - restaurant style!

So, I am a fan of quick recipes. Anything that takes time and effort is not my forte. So there is this party going on in our house and we ran out of appetizers. I had to make a quick dip for nachos, I found this brilliant recipe on the net and here it goes.

Ingredients

Butter - 4 table spoon
All purpose flour - 4 table spoon
1 cup of whole milk
A block of mozzarella cheese

Method

In a flat bottom pan, melt the butter and add the same amount of flour and mix it well. The flour will show some foams and at that time add milk. Once the flour gets fully absorbed in the milk, grate the cheese block over this. Keep stirring till the whole mixture thickens to the desired consistency. Enjoy with a veggie platter OR chips.


Saturday, 16 July 2016

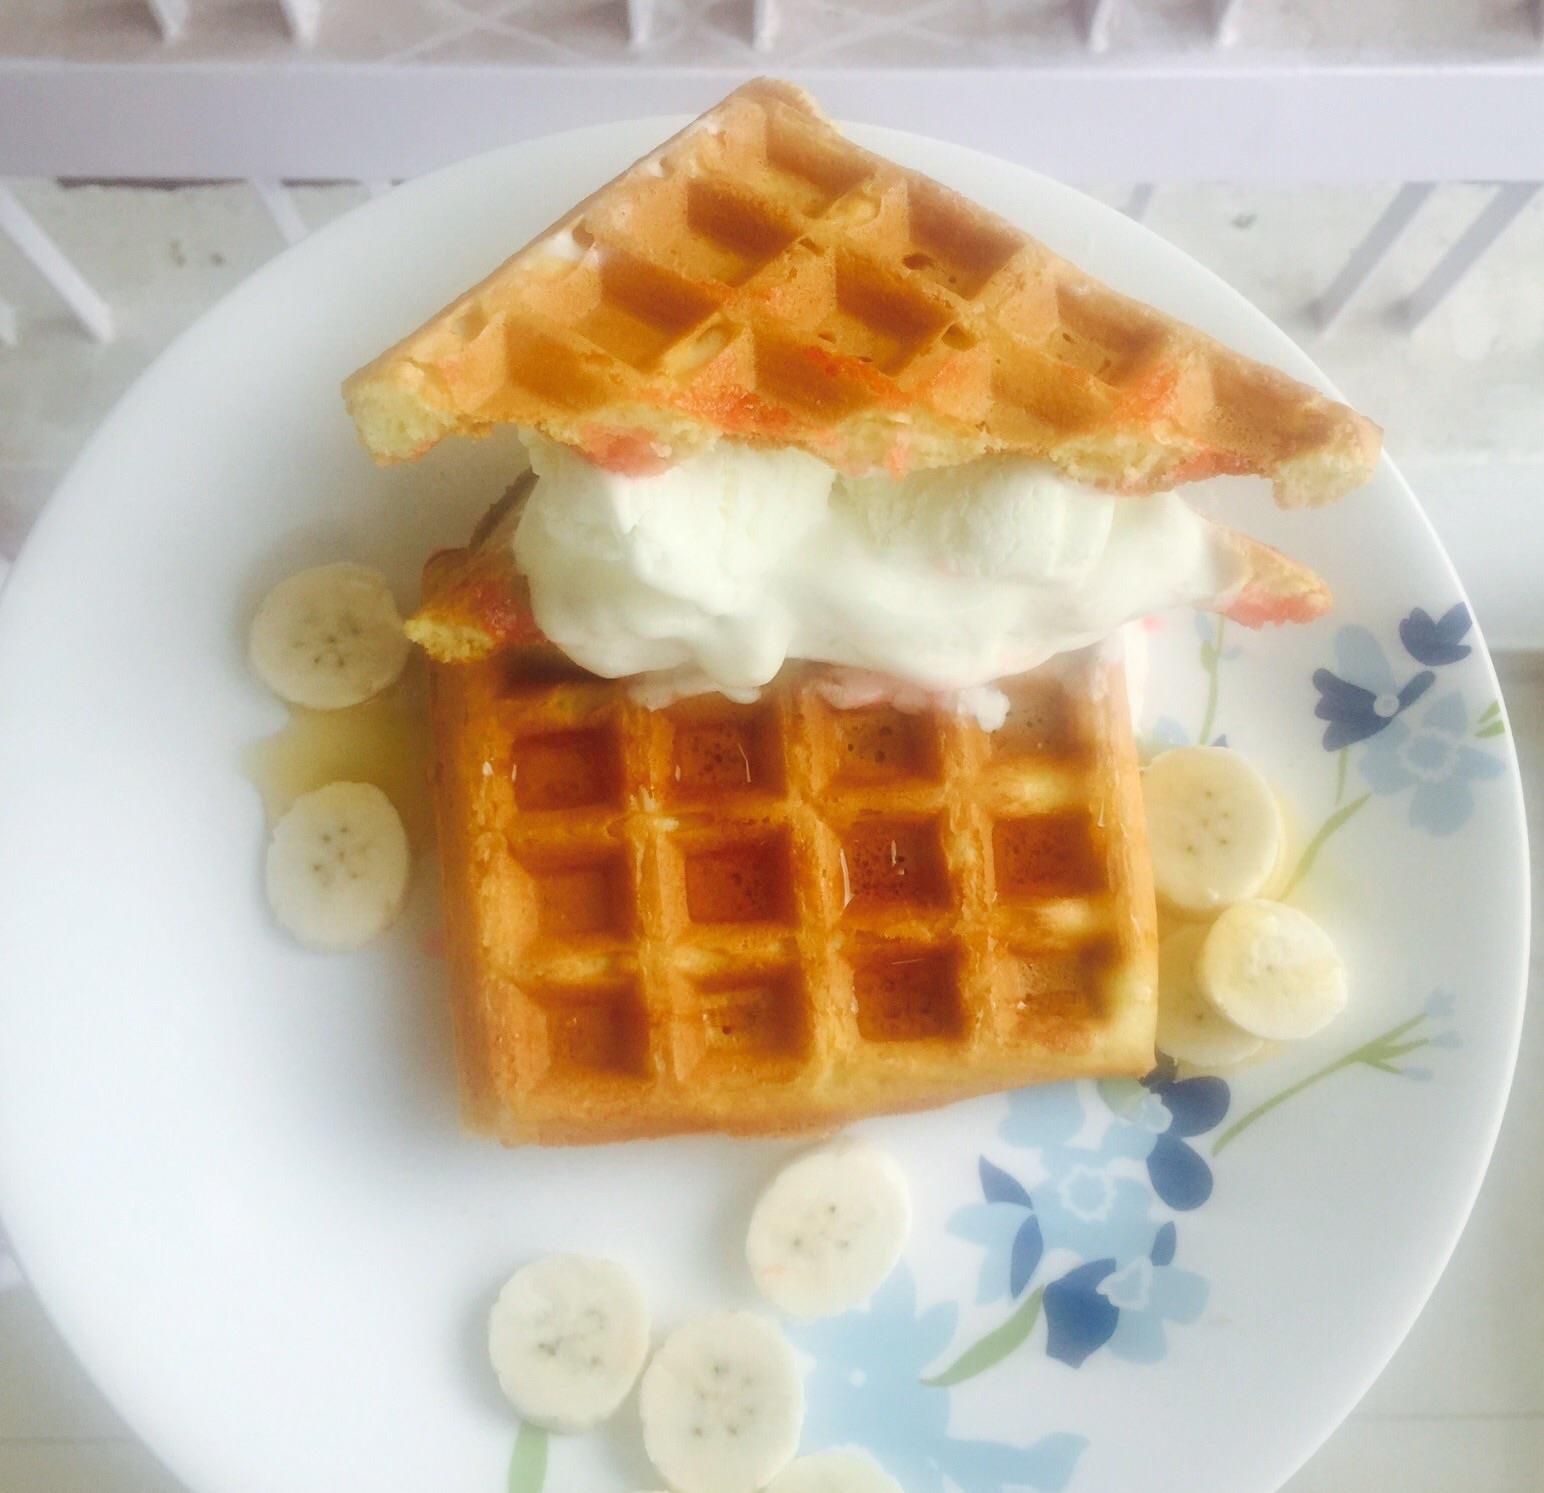
Crispy and easy waffle recipe!

To make waffles the way the actual American grand mothers make, I had to pick up the recipe NOT from famous food blogs, but from personal blogs created by foodie lovers who actually live there and make it every weekend. Authentic recipes are passed along generations and no five star hotel can match this taste.

Recipes are as much about procedure as much about the ingredients and the portions.I picked up this recipe from a very good blog in Pinterest and tried it, sharing the same here.

Ingredients


All purpose flour - 2 cups
Milk - 1 and 3/4 cup
Eggs - 2
Baking Powder - 1 tablespoon
Sugar - 2 tablespoons
Butter - 2 tablespoons

Salt - A pinch

Procedure

Beat the 2 eggs separately until really fluffy and light.

Mix all the dry ingredients in a large bowl. Fold the dry ingredients into the egg, whisking continuously, followed by the milk and finally, the butter. Mix till all ingredients come together forming a thick batter. Let this rest for 5 minutes.  At the same time, heat the waffle iron coating with a spray of butter or cooking oil. Let the iron heat up for 5 minutes.

Pour the waffle batter onto the iron, spreading it evenly. Follow the instructions as per the manufacturer. The waffle should look crispy golden brown and it is ready to eat.

I found this to be as good as the one with yeast as well. But this one turned out to be just perfect.

Sunday, 10 July 2016

Hawaiian style piña colada smoothie!

hey peeps! I am back with a recipe post today after a long time. I just hit upon this really kick-ass Piña colada smoothie! I love pineapples in all forms and it is one of favourite tropical fruits. And this smoothie simply kick started my Sunday on a good high on pineapples.

For this recipe, you can just use pineapples with coconut milk OR add a dash of banana to this mixture if you would prefer. I added bananas and it kind of evened out the strong tangy taste of pineapple, but you could totally do this without the bananas as well.

For this recipe, I made fresh coconut milk and used it with chilling or storing because I feel that refrigerating spoils the taste.


Now here goes the recipe:

IngredientS

- 2 cups of pineapple chunks
- 1 cup of coconut milk
- 1/2 to 1 cup of diced banana
- 2 table spoons of honey OR sugar as needed

Blend all the ingredients together along with ice and serve chilled.


Saturday, 2 July 2016

Mud Cake in A Mug!

Well it has been a long time since I posted a recipe. In some random search for easy recipes I hit up on this yummy Mud cake recipe that could be made in a mug.

Recipe:
Approx. Cooking time: 20 minutes

Ingredients:

4 Tablespoons of All purpose flour
2 tablespoons of cocoa-powder
6 tablespoons of granulated Sugar
1 tablespoon of baking powder
1/2 tea spoon of salt
2 tablespoons of vegetable oil
1/2 teaspoon of vinegar
4 tablespoons of water


Pick a microwave safe mug and grease the sides with enough oil. Put the first 5 ingredients into the mug and mix really well. Make 2 depressions and pour in the vinegar and oil into each of these depressions. Mix thoroughly. Cover the top with water.

Pre-heat Microwave oven and bake for about 15 minutes. Once the corners start to give away from the sides of the cup, remove it and invert the cup upside down onto a plate. The center of the cake remains molten and wet. Delicious and quick mud cake is now ready.

Saturday, 11 June 2016

Street food sometimes beats Fine dining restaurants in taste and here is why!


I have paraded many restaurants based on the high five ratings on Zomato and social media. Barring a few good ones that got their due ratings, most other restaurants and outlets had highly over-rated stars. Not only did such visits burnt a big hole in my pocket, they did not leave my tongue wagging for more. I have kind of shunned social media recommendations for dining out and strictly go by what similar minded foodies recommend in blogs OR food sites....

I also find street food OR rather these non fuzzy food outlets with absolutely no spend on digital OR social media marketing attracting more repeat customers. And the taste is also very unique and not easily repeatable...

Here is what I have found as top reasons why street food is more authentic than fine dining restaurants:

1. The Chef and the owners are deep rooted into the cuisine and the Nativity of the place that they represent the food from. They are very passionate about recreating the experience of what they once at from their mother's kitchen. They rely less on technology - and more on actual manual labor and effort in creating the food. Even now in our native, a electrical mixer is avoided and the hand grinder is preferred in making every chutney OR spice varieties.

2. Every native cuisine has a few techniques that are to be adhered to bring out an unique taste. After all, cooking is a culmination of many chemical reactions and missing out one step and doing it later can completely alter the taste. And so with the quantity as well. This is where our local Chefs from the native have some secret, undocumented techniques that they adopt in their day to day cooking. No recipe book OR a culinary degree can teach this essential need in cooking.

3. The sourcing...which is the most important part of cooking. The small vendors have a well connected eco-system of local suppliers which bring them near native ingredients in their cooking combined with almost no refrigeration and freezing of food. This totally brings out the freshness in the food which is completely lost out in fine dining restaurants.

We also see this trend among diners, where the search for best street food continues as fervently as ever. Television Programmes that exactly meet this demand such as Highway On My Plate and Street food around the world rock on TRP ratings and provide us great insights as well. This is what we need to eat - Authentic, Local, Tasty and Affordable Food.


Wednesday, 8 June 2016

Milkshake Madness - Creamy oreo goodness!

Hey there! Its been a while since I blogged and today's blog is about a super simple recipe. I am not the one who cooks intense food. My patience threshold is so poor that whatever I cook has to get done in max 30 minutes. Anything that takes more time ends up looking like anything but food!

That said, making milkshakes [OR for that matter anything sweet - Desserts] is my favorite hobby. My hunt for tasty and quirky milkshakes continues and this time I tried OREO cookies milkshake.
Sooper Simple to make and tasting outright delicious, is this awesome shake!

Here goes the recipe for the milkshake:

Ingredients

1. 6 Oreo cookies chocolate filled. Apart from this, Keep 4-6 cookies for decorations. Keep them crumbled/Powdered OR as it is.

2. 2 cups vanilla ice cream

3. 1 cup of milk

4. Optional  1/2 cup of sugar - I avoided the sugar because Oreo and Vanilla ice cream already had a lot of sugar

5. 4 tablespoons of chocolate sauce

6. 2 spoons Peanut Butter - Optional. Makes the milkshake more creamier and gives it a nutty flavor

6. Sweetened Whipped cream - vanilla flavored


Grind all ingredients in the blender except the whipped cream. Pour into a tall glass till it fills to 3/4th. Above this level, fill with whipped cream. On top of the whipped cream, Place 2 Oreo cookies OR spread crumbled Oreo Cookies on top of the whipped cream. Serve chilled. Enjoy!